Introduction
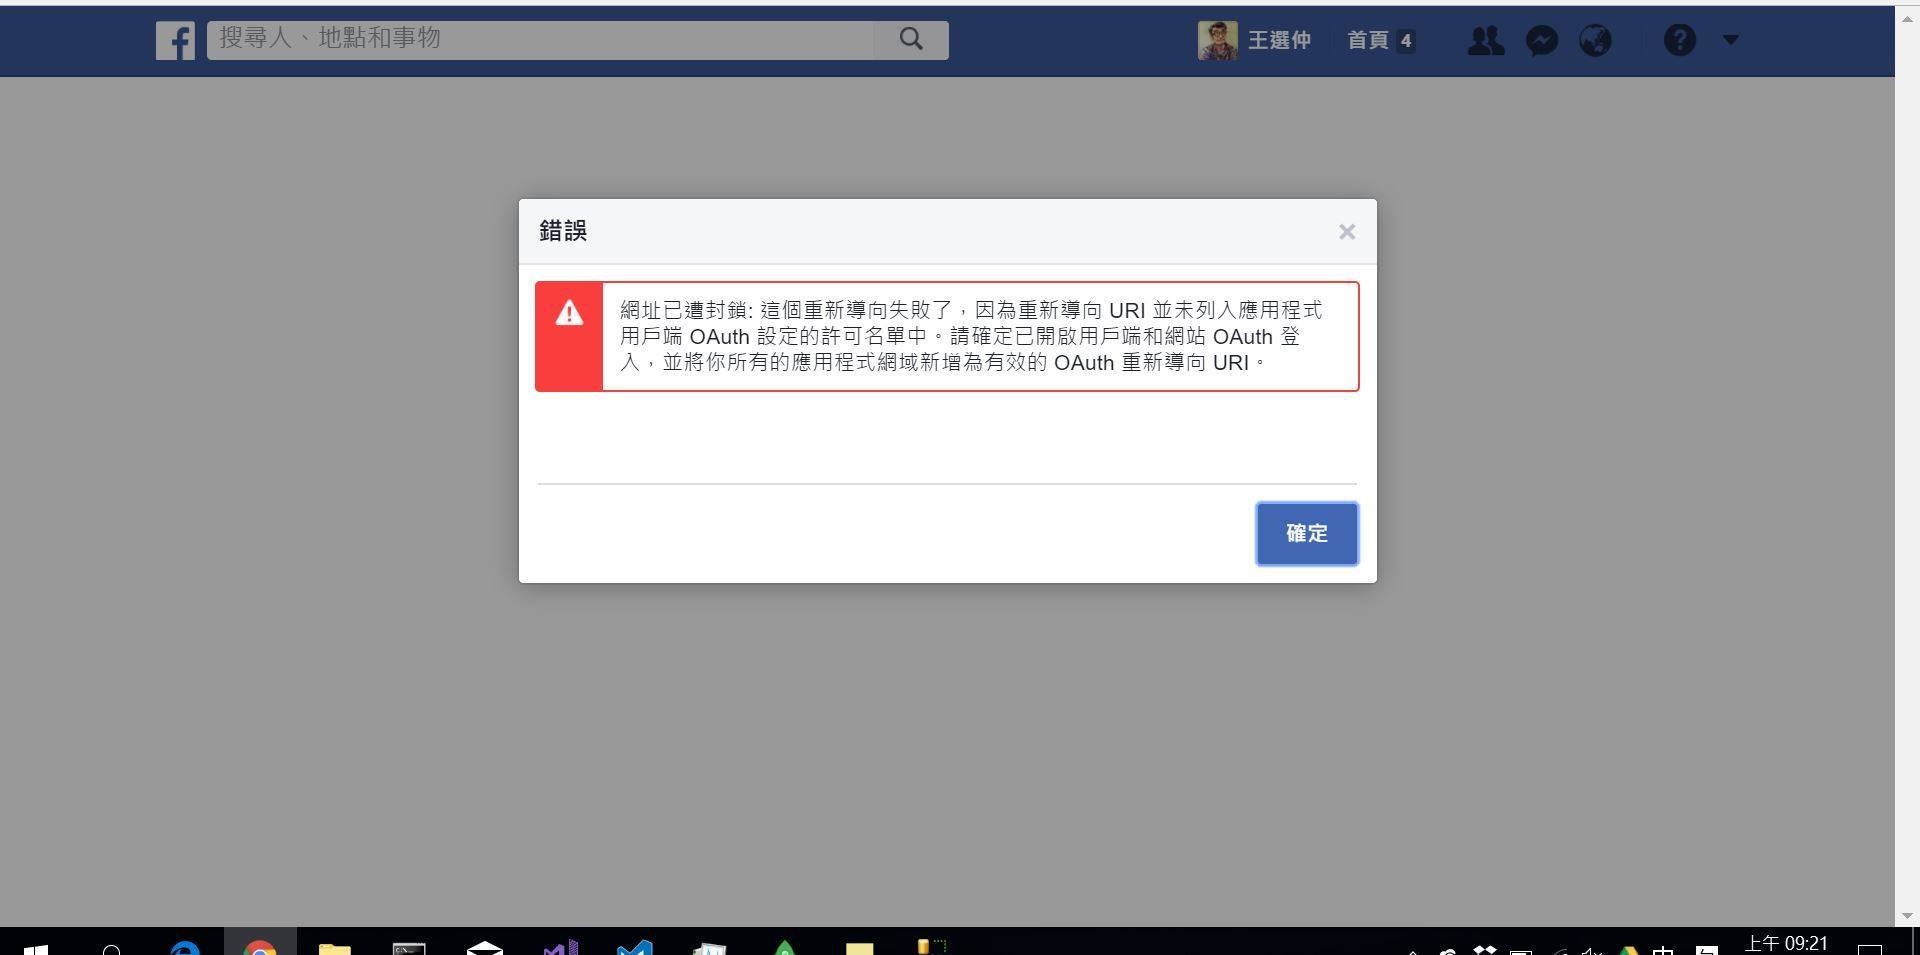
Due to facebook api’s change on its query string. The built-in connecting system to facebook has some error. Unlike google authencation, you only have to input the ClientId, ClientSecret and set down the google end app, then you can successfully connect to google Api. However, you have to redefine the querystring in facebook authencation.more To be mentioned, you can only get emails of users in default setting in both all approach of authencation. If you want to get username, some code have to be edit more complicatedly. Nevertheless, even if you know how to edit code to get more information of users from facebook(or google), the port of Asp.Net Indentity to third party authencation system can only allow you to ask for name and email. This is restricted by Identity class. You can only get access to other private information by editing this calss’ inner code. This is quit different from other program language because Identity is supported by Microsoft. And other language’s methods to connect to third party api are often supported by third party.
Tools on Facebook Api
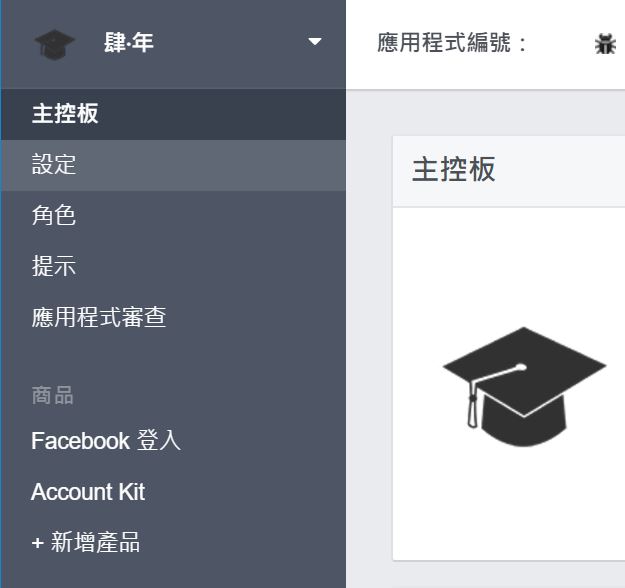
There are two tools on facebook api for you to do authencation process: “Facebook Login” and “Account Kit”. And this article focus on the second method.
| Item | connecting method | what you will get? | advantage |
|---|---|---|---|
| facebook login | Front end(View) connection* | name | easy |
| Account Kit | Server end(Controller) connection | name, email, and other** | flexible |
*This way is quit easy. If you have some basic knowledge of javascript, you will successfully connect your view to facebook by reading its instruction. And you don’t have to use Identity class in this way.
**If you want more information, first you have to modify the inner code of Identity calss to fit facebook api’s requirement. second, you have to apply to facebook for asking agreement to other facebook users for more information. Third, every time a new user login your website through fb, they will be ask for authorization. Once they reject, you can get information they agree to give to you.
Notice
By the way, the way to apply for a fb developer account is quit easy. And a lot of articles have complete this part. As a result, I don’t want to waist time and space to write again. So this article assume you have an fb developer account and you have got AppId and AppSecret from facebook.
Open Project and prepare utility for Identity class to use
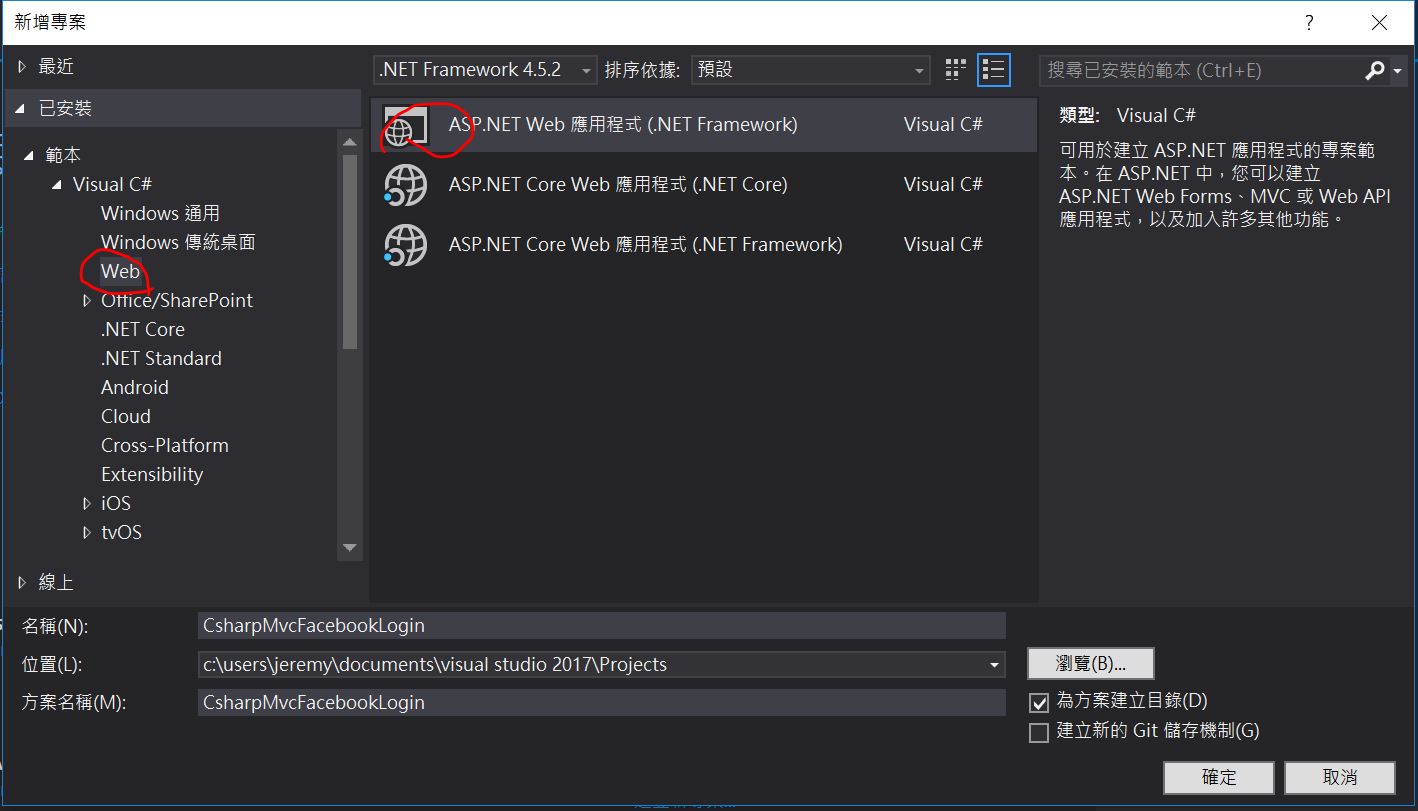
Open an MVC project with idntity
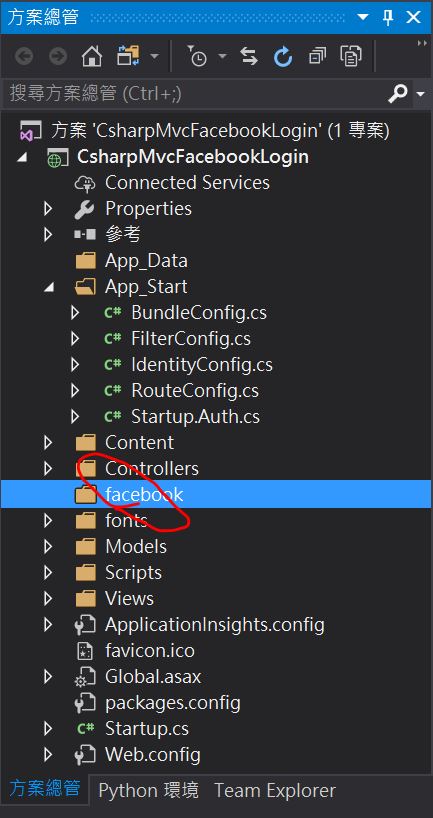
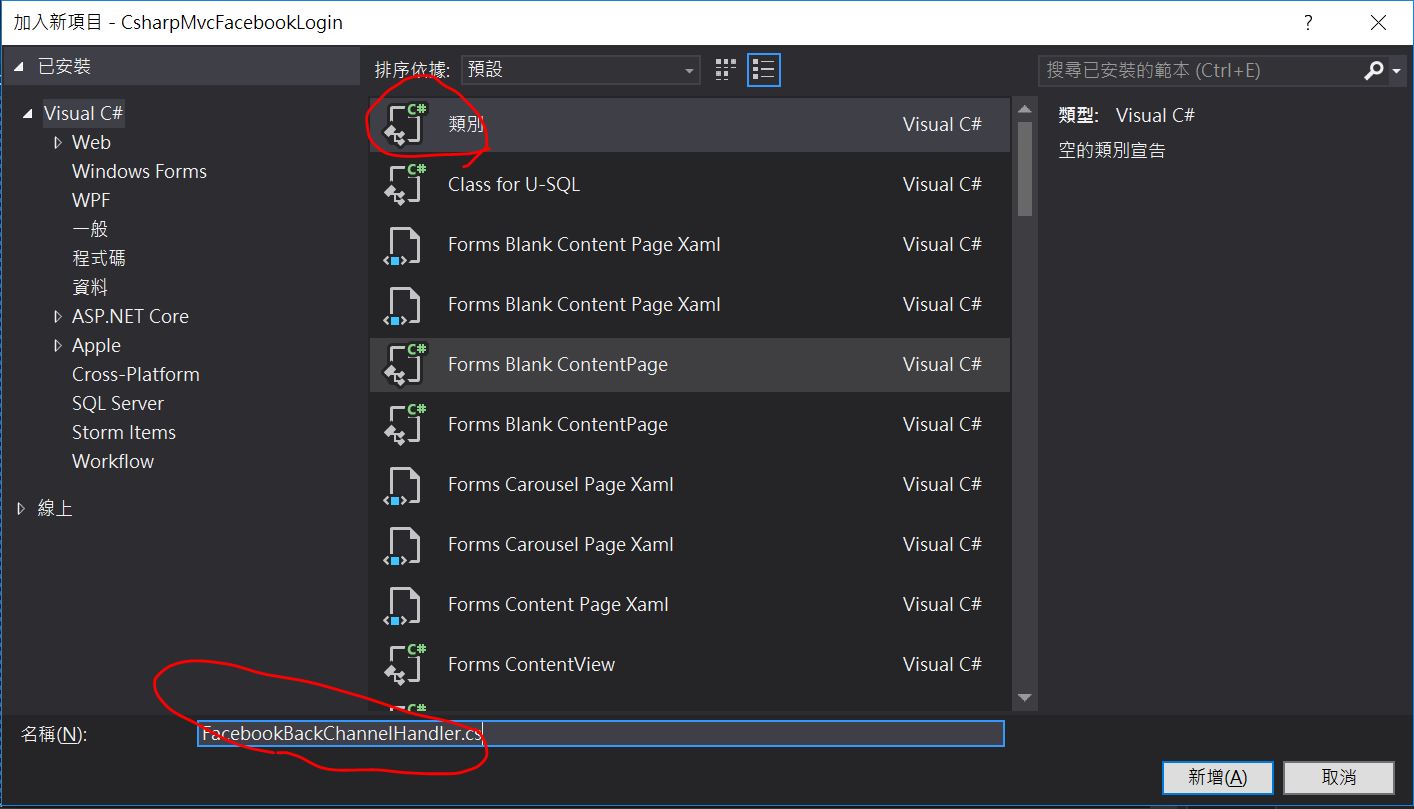
Create FacebookBackChannelHandler.cs class file in fb directory
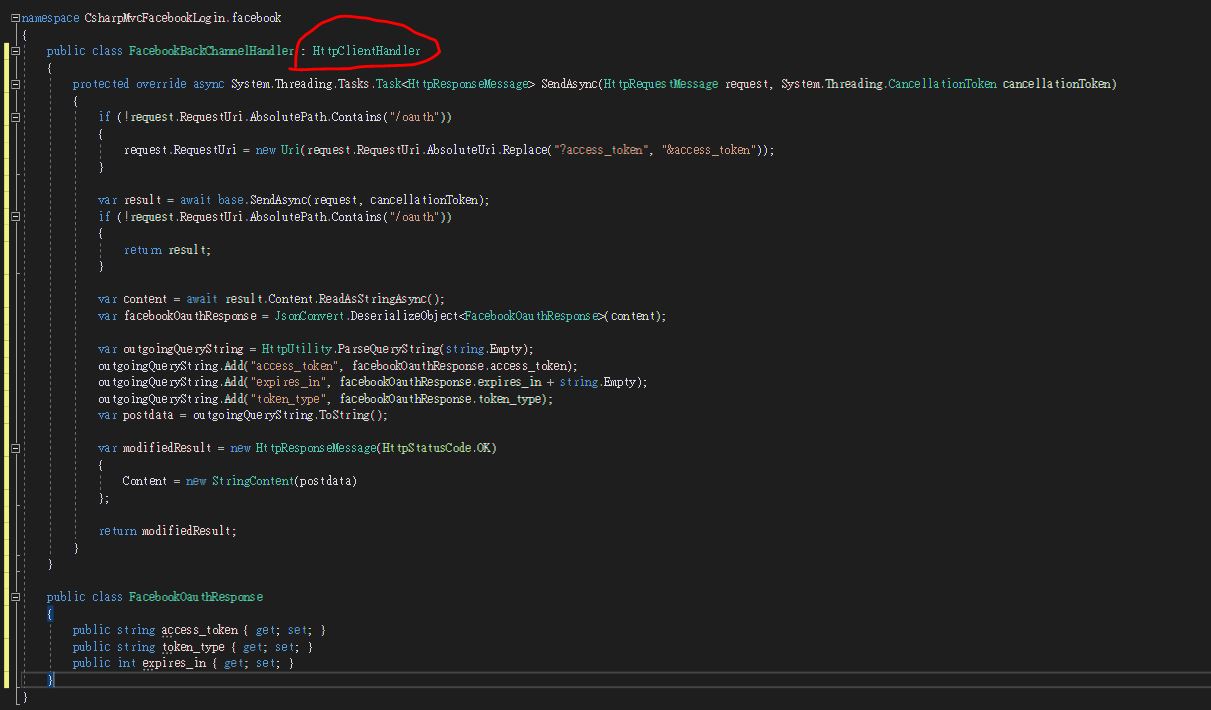
    public class FacebookBackChannelHandler : HttpClientHandler
    {
        protected override async System.Threading.Tasks.Task<HttpResponseMessage> SendAsync(HttpRequestMessage request, System.Threading.CancellationToken cancellationToken)
        {
            if (!request.RequestUri.AbsolutePath.Contains("/oauth"))
            {
                //Because fb has changed it querysteing format, so you have to redefine this to achieve its requirement.
                //Original: https://graph.facebook.com/v2.4/me?access_token=ABC
                //Now: https://graph.facebook.com/v2.4/me?fields=id,name,email&access_token=ABC
                request.RequestUri = new Uri(request.RequestUri.AbsoluteUri.Replace("?access_token", "&access_token"));
            }

            var result = await base.SendAsync(request, cancellationToken);
            if (!request.RequestUri.AbsolutePath.Contains("/oauth"))
            {
                return result;
            }

            var content = await result.Content.ReadAsStringAsync();
            var facebookOauthResponse = JsonConvert.DeserializeObject<FacebookOauthResponse>(content);

            var outgoingQueryString = HttpUtility.ParseQueryString(string.Empty);
            outgoingQueryString.Add("access_token", facebookOauthResponse.access_token);
            outgoingQueryString.Add("expires_in", facebookOauthResponse.expires_in + string.Empty);
            outgoingQueryString.Add("token_type", facebookOauthResponse.token_type);
            var postdata = outgoingQueryString.ToString();

            var modifiedResult = new HttpResponseMessage(HttpStatusCode.OK)
            {
                Content = new StringContent(postdata)
            };

            return modifiedResult;
        }
    }

    public class FacebookOauthResponse
    {
        public string access_token { get; set; }
        public string token_type { get; set; }
        public int expires_in { get; set; }
    }
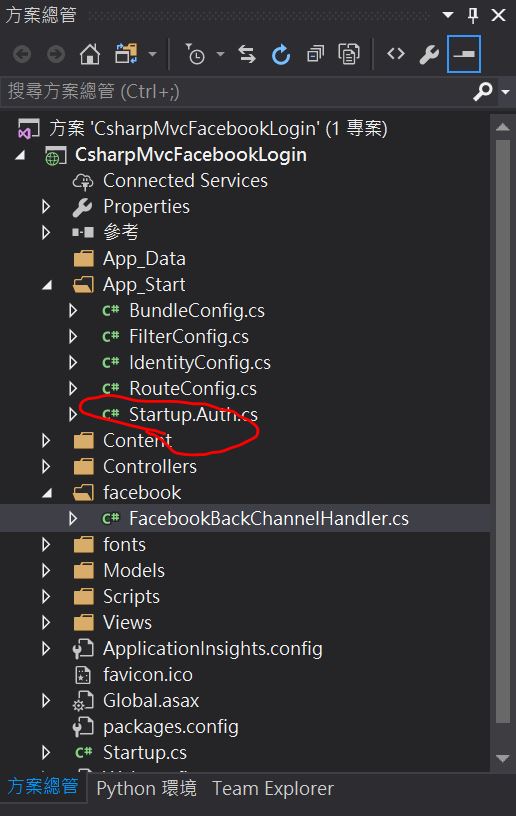
Modify Startup.Auth
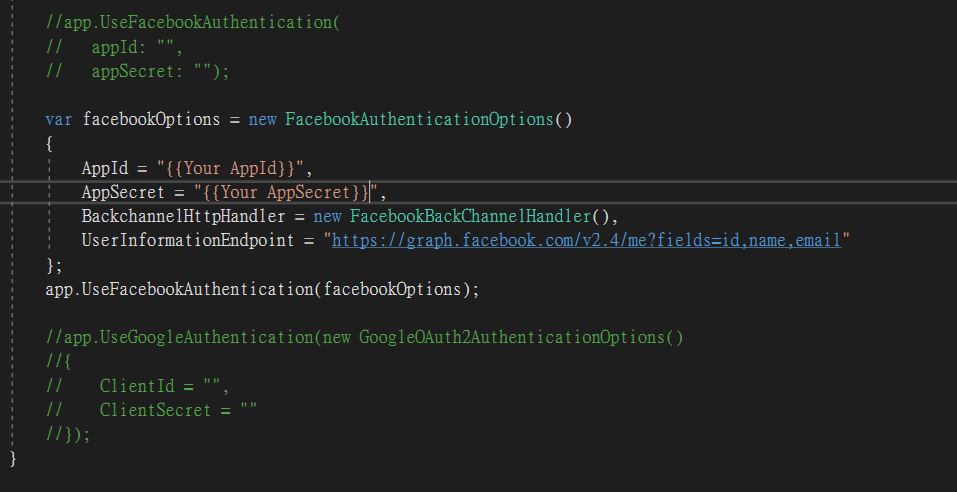
            var facebookOptions = new FacebookAuthenticationOptions()
            {
                AppId = "{{Your AppId}}",
                AppSecret = "{{Your AppSecret}}",
                //The class you have defined beforehand
                BackchannelHttpHandler = new FacebookBackChannelHandler(),
                //You can difine facebook version yourdself(VX.X below)
                UserInformationEndpoint = "https://graph.facebook.com/v2.4/me?fields=id,name,email"
            };
            app.UseFacebookAuthentication(facebookOptions);
Build your project
ctrl + shift + b
Model and ViewModel
Edit database column and IdentityModel.cs
See notice in the tail of this article
AccountViewModel.cs(get username from view)
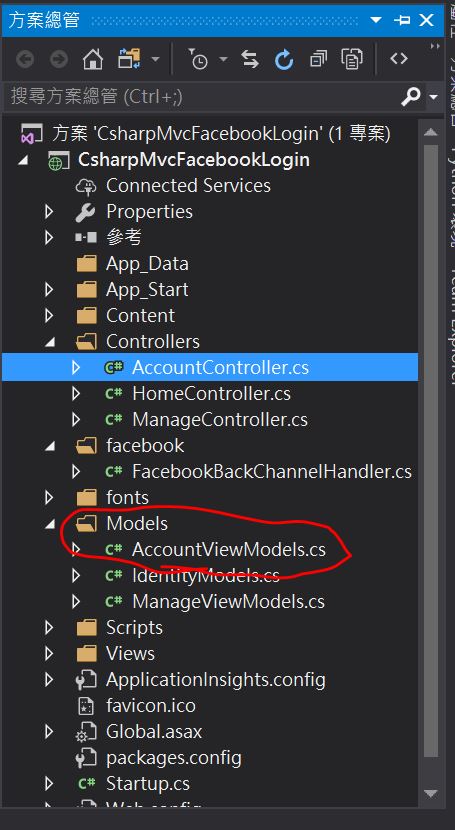
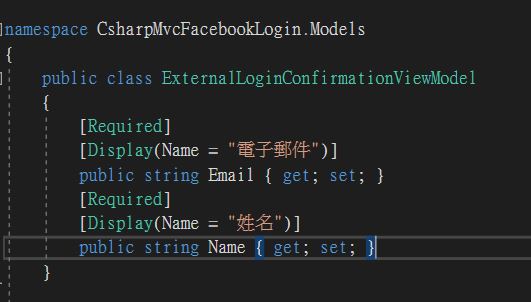
    public class ExternalLoginConfirmationViewModel
    {
        [Required]
        [Display(Name = "電子郵件")]
        public string Email { get; set; }
        [Required]
        [Display(Name = "姓名")]
        public string Name { get; set; }
    }
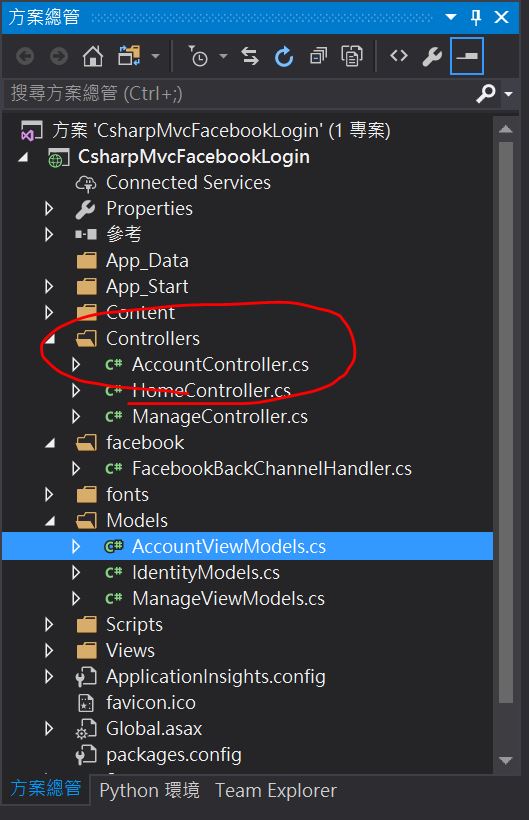
Controller
AccountController.cs(get username from fb)
ExternalLoginCallback Action
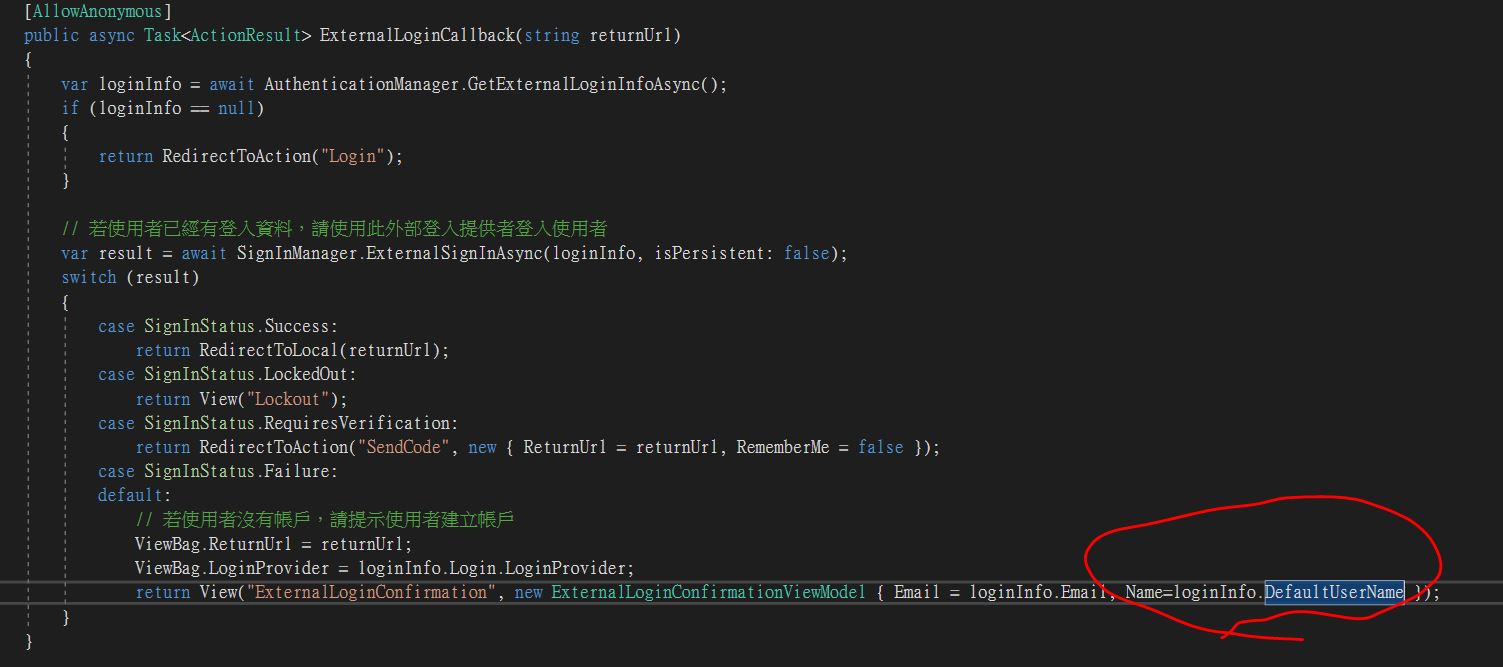
        [AllowAnonymous]
        public async Task<ActionResult> ExternalLoginCallback(string returnUrl)
        {
            var loginInfo = await AuthenticationManager.GetExternalLoginInfoAsync();
            if (loginInfo == null)
            {
                return RedirectToAction("Login");
            }

            var result = await SignInManager.ExternalSignInAsync(loginInfo, isPersistent: false);
            switch (result)
            {
                case SignInStatus.Success:
                    return RedirectToLocal(returnUrl);
                case SignInStatus.LockedOut:
                    return View("Lockout");
                case SignInStatus.RequiresVerification:
                    return RedirectToAction("SendCode", new { ReturnUrl = returnUrl, RememberMe = false });
                case SignInStatus.Failure:
                default:
                    ViewBag.ReturnUrl = returnUrl;
                    ViewBag.LoginProvider = loginInfo.Login.LoginProvider;
                    return View("ExternalLoginConfirmation", new ExternalLoginConfirmationViewModel { Email = loginInfo.Email, Name=loginInfo.DefaultUserName });
            }
        }
ExternalLoginConfirmation Action
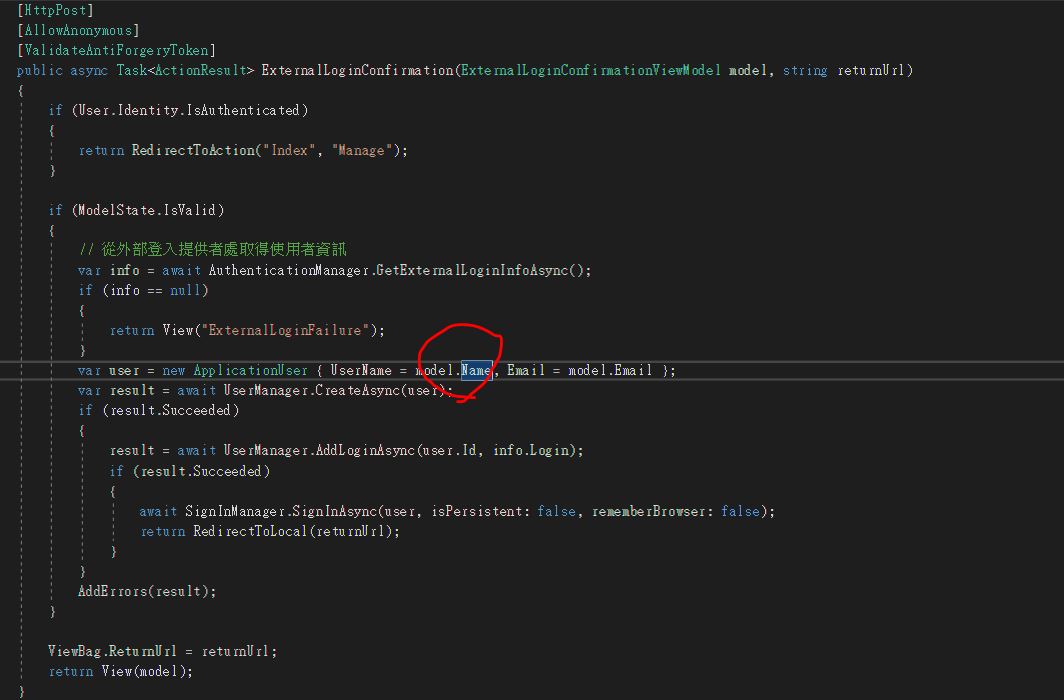
        [HttpPost]
        [AllowAnonymous]
        [ValidateAntiForgeryToken]
        public async Task<ActionResult> ExternalLoginConfirmation(ExternalLoginConfirmationViewModel model, string returnUrl)
        {
            if (User.Identity.IsAuthenticated)
            {
                return RedirectToAction("Index", "Manage");
            }

            if (ModelState.IsValid)
            {
                var info = await AuthenticationManager.GetExternalLoginInfoAsync();
                if (info == null)
                {
                    return View("ExternalLoginFailure");
                }
                var user = new ApplicationUser { UserName = model.Name, Email = model.Email };
                var result = await UserManager.CreateAsync(user);
                if (result.Succeeded)
                {
                    result = await UserManager.AddLoginAsync(user.Id, info.Login);
                    if (result.Succeeded)
                    {
                        await SignInManager.SignInAsync(user, isPersistent: false, rememberBrowser: false);
                        return RedirectToLocal(returnUrl);
                    }
                }
                AddErrors(result);
            }

            ViewBag.ReturnUrl = returnUrl;
            return View(model);
        }
View
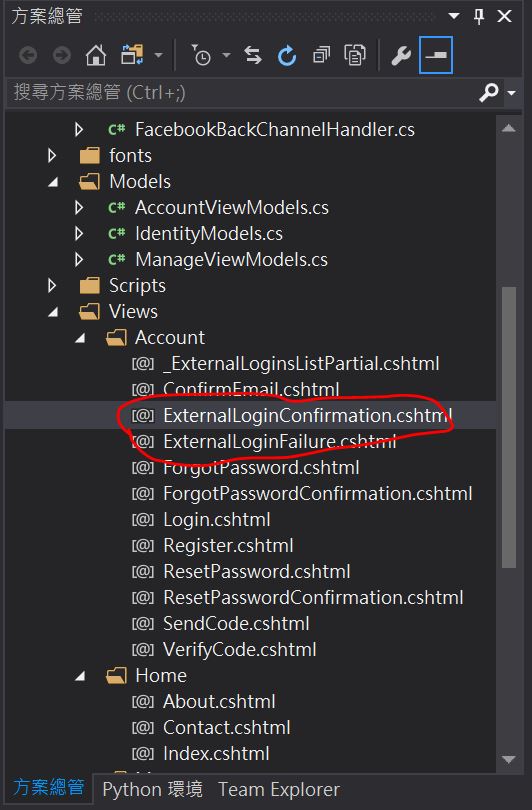
ExternalLoginConfirmation.cshtml
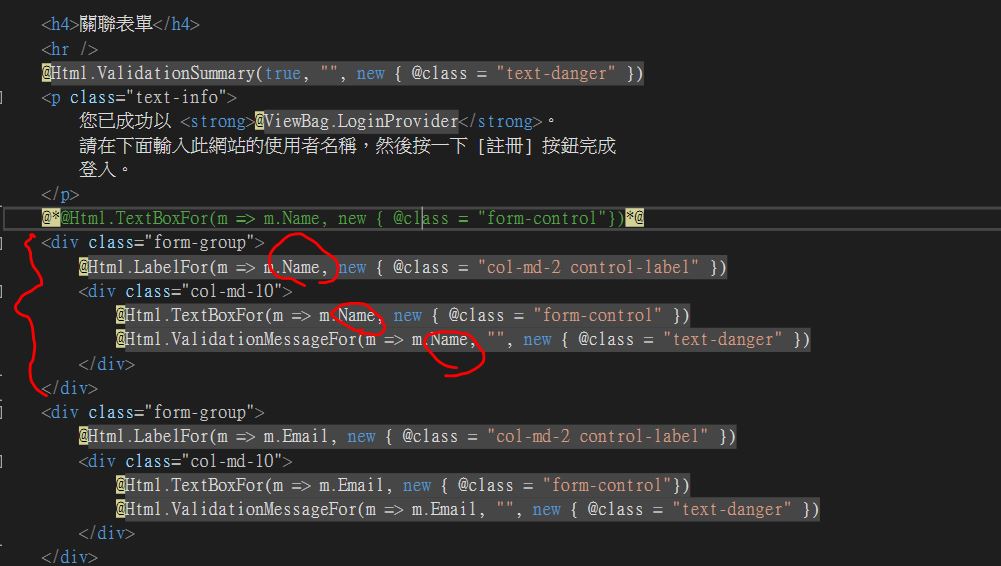
    <div class="form-group">
        @Html.LabelFor(m => m.Name, new { @class = "col-md-2 control-label" })
        <div class="col-md-10">
            @Html.TextBoxFor(m => m.Name, new { @class = "form-control" })
            @Html.ValidationMessageFor(m => m.Name, "", new { @class = "text-danger" })
        </div>
    </div>
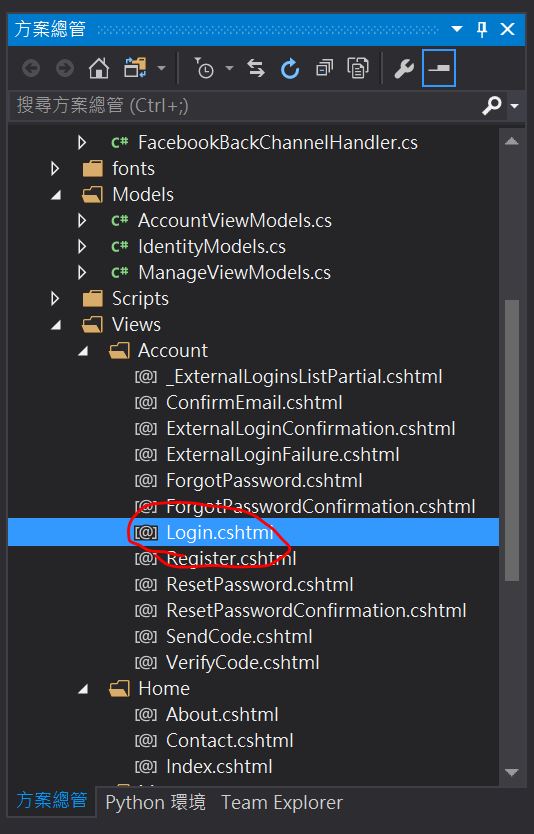
Usage
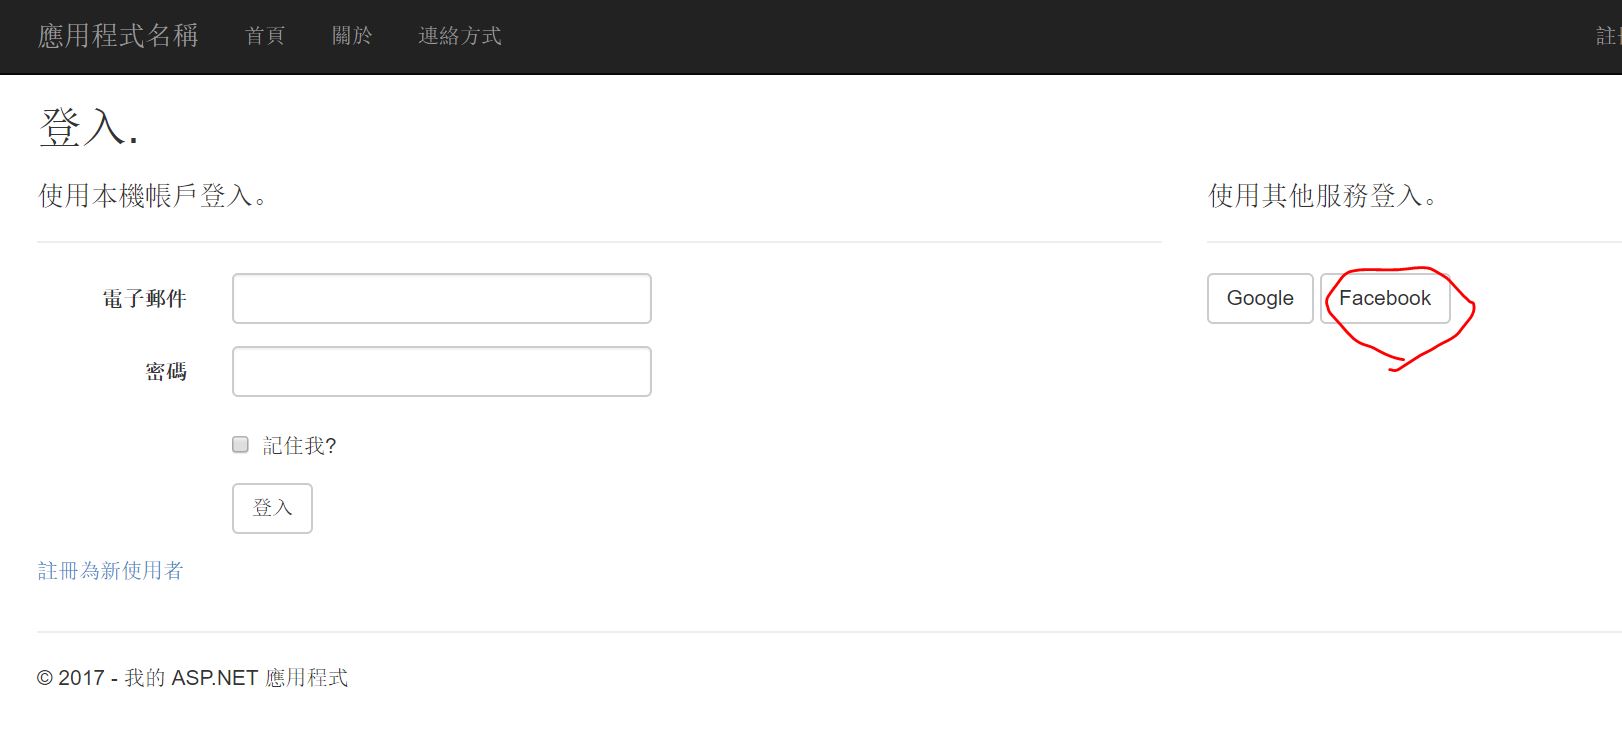
Login.cshtml
ctrl + F5
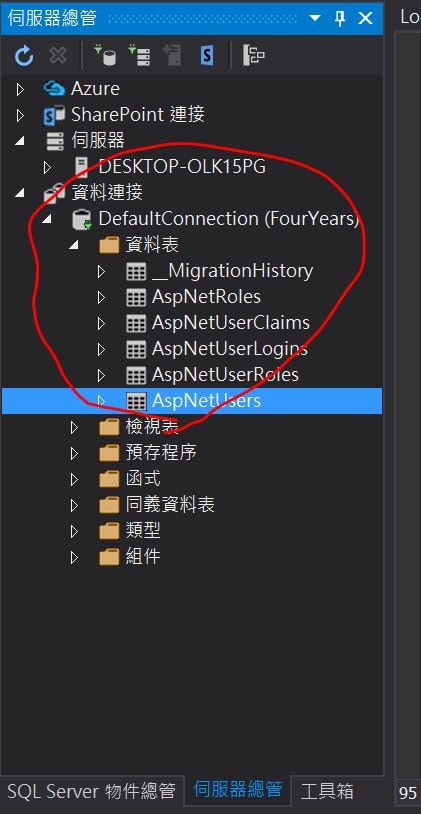
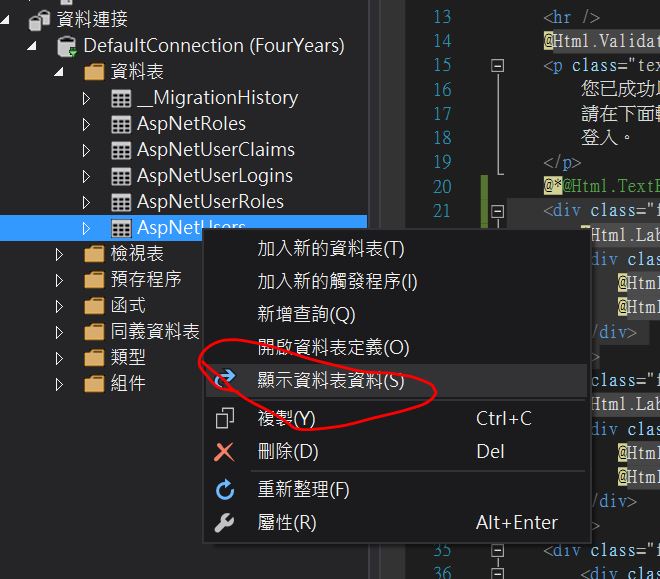
Database

Notice
Database Column Issue
If you want to truely use this in your website, I suggest you to add a column to your database. This will ask you to learn some code first database generation techniques which use datacase migration to done this work. There are two reasons for you to do that. First, email as login username is more rememberable. Second, If you want mix Identity inner-built login system, you also have to moidify general login code to write the match the column and user input
Database Storage Issue
Originally, its default path to database is app_Data built in your project. If you want to move to other place. you have first to modify the connecting string in web.config(in the bottom of your project manager). Then start your first login. If you have loggged in before. you had better delete all your migration log, then start migration mechanism.
Publish on Azure
Even if I tried several times, I can’t get authorization from facebook Some times once I publish on azure. However, sometimes it works. I am still deal with this problem